Last Updated on July 8, 2022
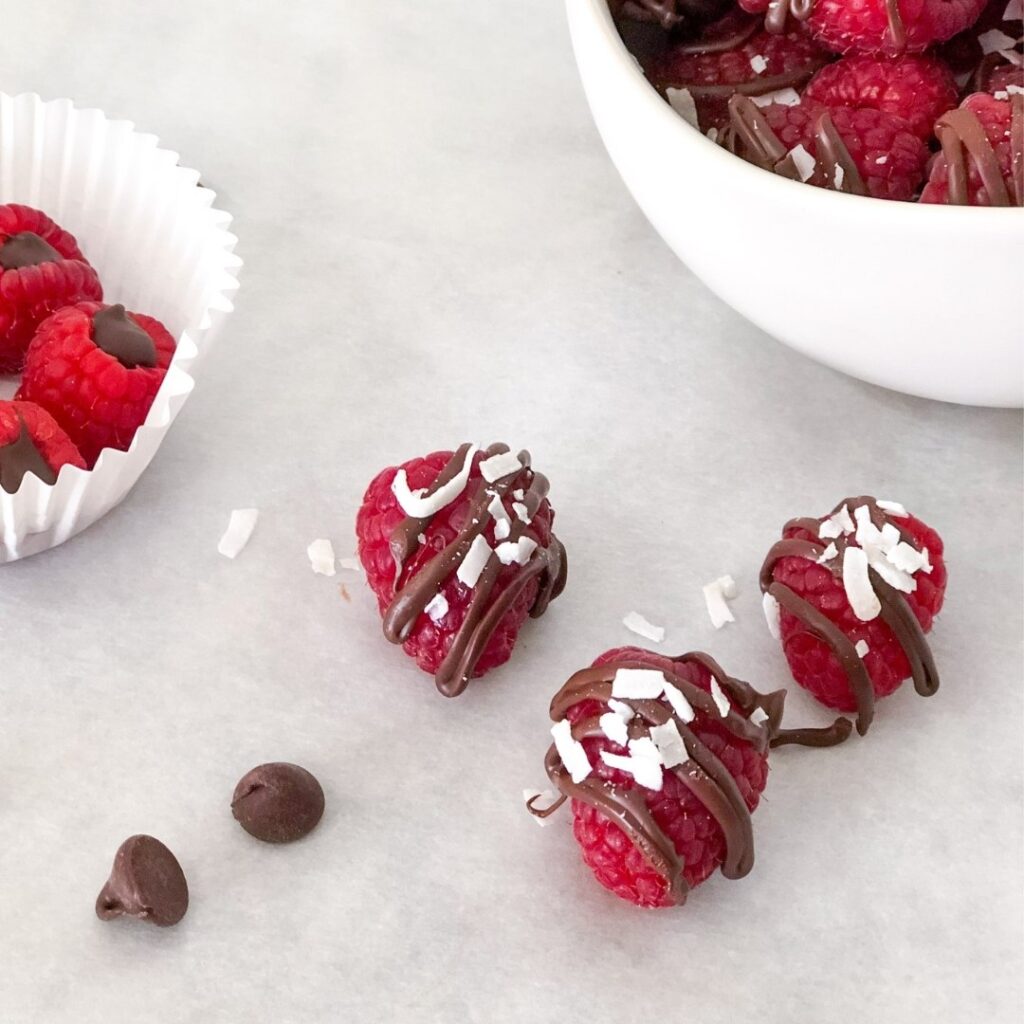
Looking for an easy but adorable dessert? These 3-ingredient, no bake dark chocolate filled raspberries taste luxurious but are super simple, made with an easy hack for filling the raspberries. They’re topped with a sprinkle of shredded coconut for a perfect finish.
You only need 10-15 minutes to make these little bites of bliss, and another 5 minutes of chill time for the chocolate to set.
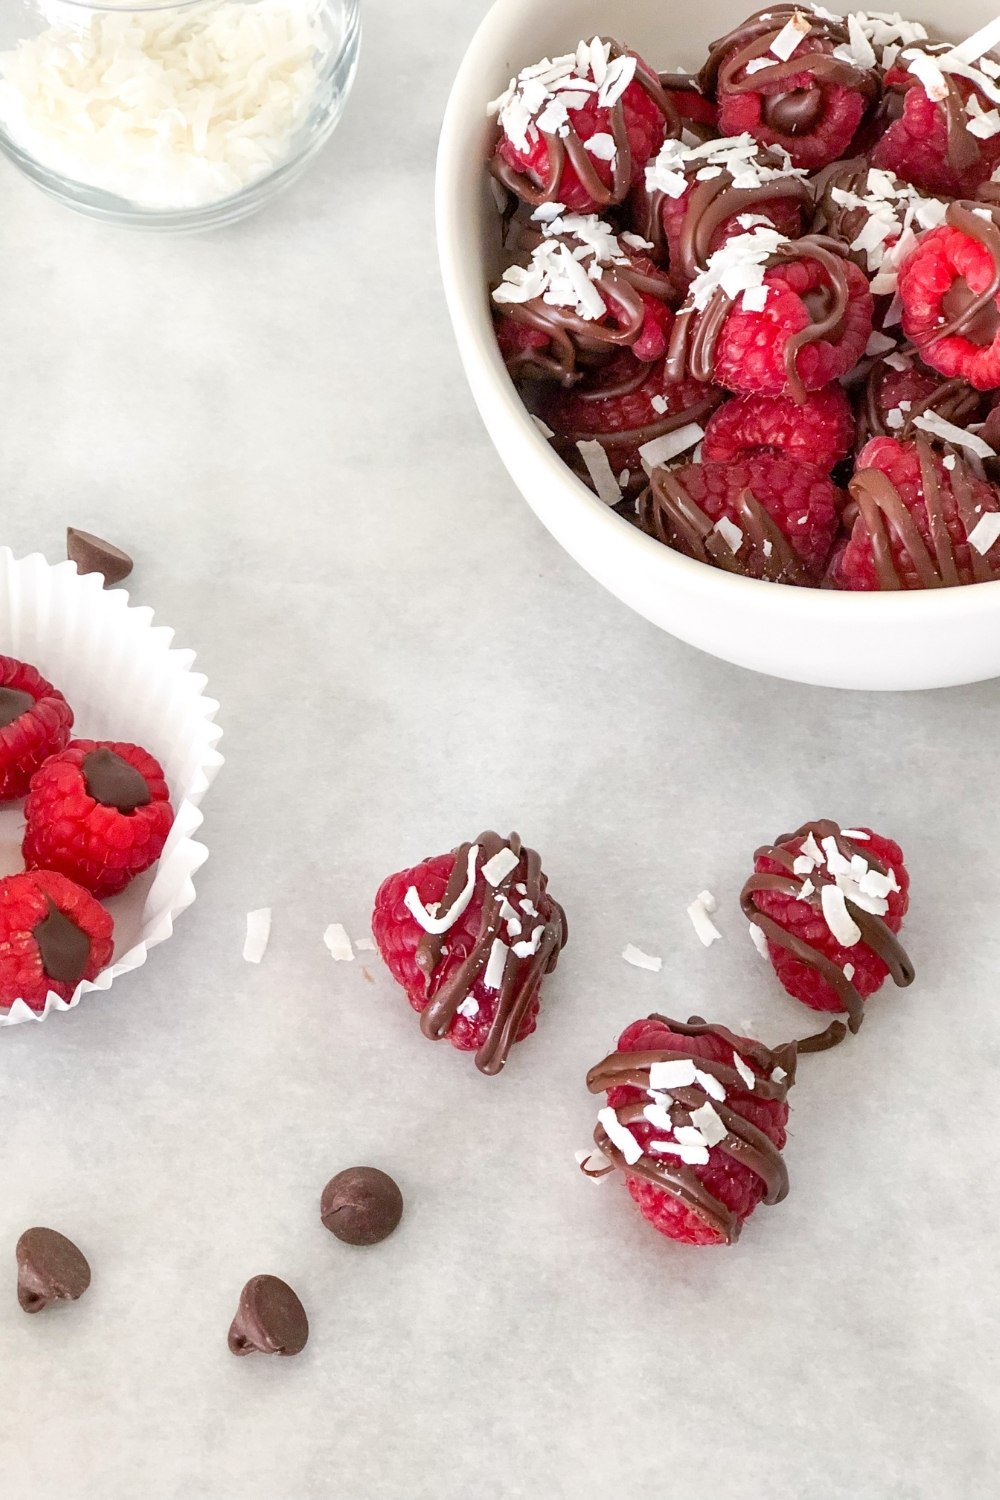
Chocolate Raspberry Dessert Bites
These chocolate filled raspberries are a healthy dessert, and easy enough for everyday enjoyment!
Chocolate and raspberry is one of my absolute favorite flavor combinations. It makes me think of a melty chocolate lava cake topped with fresh raspberry sauce. So decadent, with the richness of the chocolate pairing so well with the sweet tartness of the raspberries.
Here, we’re taking inspiration from those flavors – but without all the hassle of baking (or mixing) anything.
Recipe Ingredients
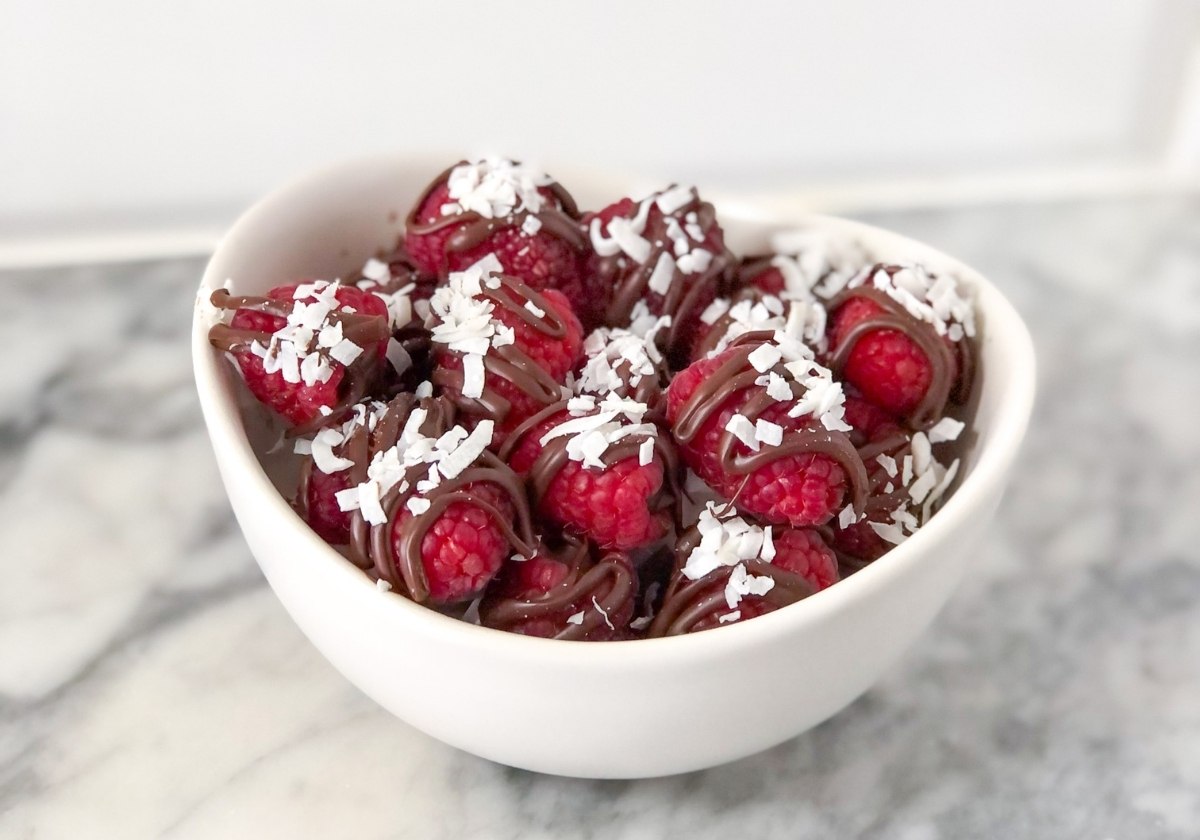
You only need three ingredients to make these:
- dark chocolate: You can either use dark chocolate chips, or a chocolate bar chopped into small chunks. We’ll be melting the chocolate, then placing it in a ziploc or piping bag to fill the raspberries. (More details on how below). You can use semisweet or milk chocolate if you prefer!
- raspberries: Fresh, ripe raspberries are the tasty vessels for our dark chocolate in this recipe! You’ll know they’re ripe if the entire berry is a consistent deep red color. If they’re light red or have white spots, they aren’t ripe. (Keep in mind: raspberries don’t continue to ripen after being picked.)
- coconut: A sprinkle of shredded or flaked coconut adds extra texture and flavor. I used unsweetened shredded coconut here, found in the baking aisle of most grocery stores. You can use sweetened coconut if you don’t mind the extra sweetness. (Personally, I think these are plenty sweet on their own!)
I don’t recommend using frozen raspberries here, because even after thawing they may have too much moisture. Feel free to try it if you’d like, though!
For another tasty no bake snack, you might like these chocolate peanut butter cheerio bars. Check out this list of my favorite easy sweet snacks for even more snack inspiration!
How to Make Chocolate Filled Raspberries
These are quite simple to make, especially with a couple hacks that make melting the chocolate and filling the raspberries easier.
Step 1: Wash & Dry Raspberries
First, be sure to wash and dry the raspberries thoroughly. Make sure to flip the raspberries with the tips facing up on a paper towel, as the centers often fill with water when they’re washed.
Step 2: Melt Dark Chocolate
Next, melt the chocolate chips (or chopped chocolate bar) in the microwave. Place in a microwave-safe bowl and microwave in 30 second intervals at 50% power, stirring between each interval, until the chocolate is smooth.
I recommend using a glass bowl for microwaving, as glass heats the chocolate more evenly and prevents scorching. Just check that it’s microwave safe!
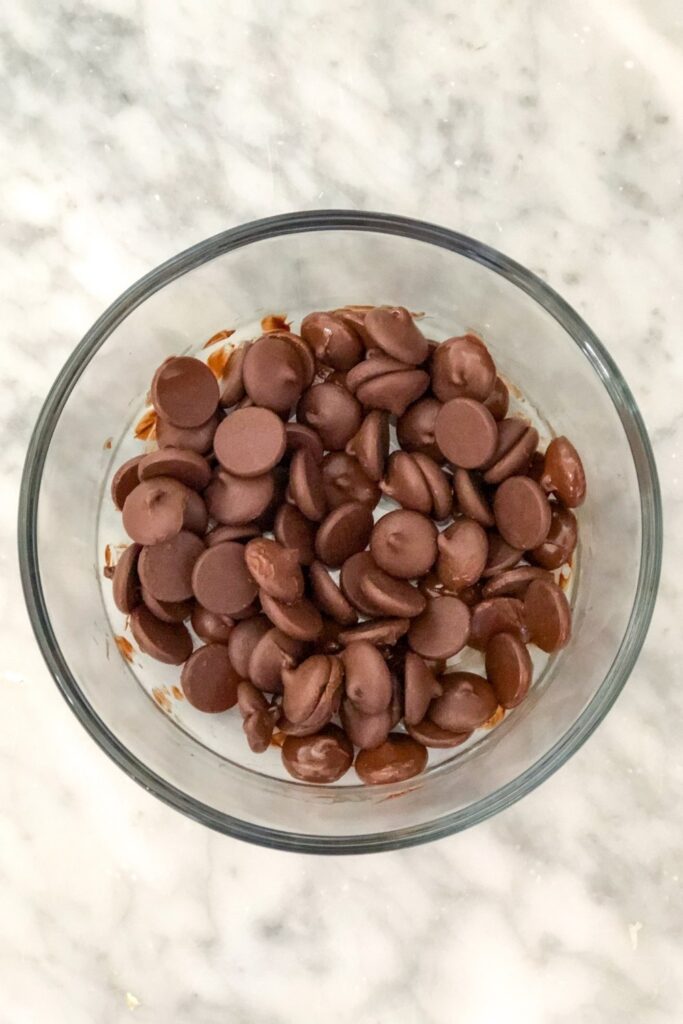
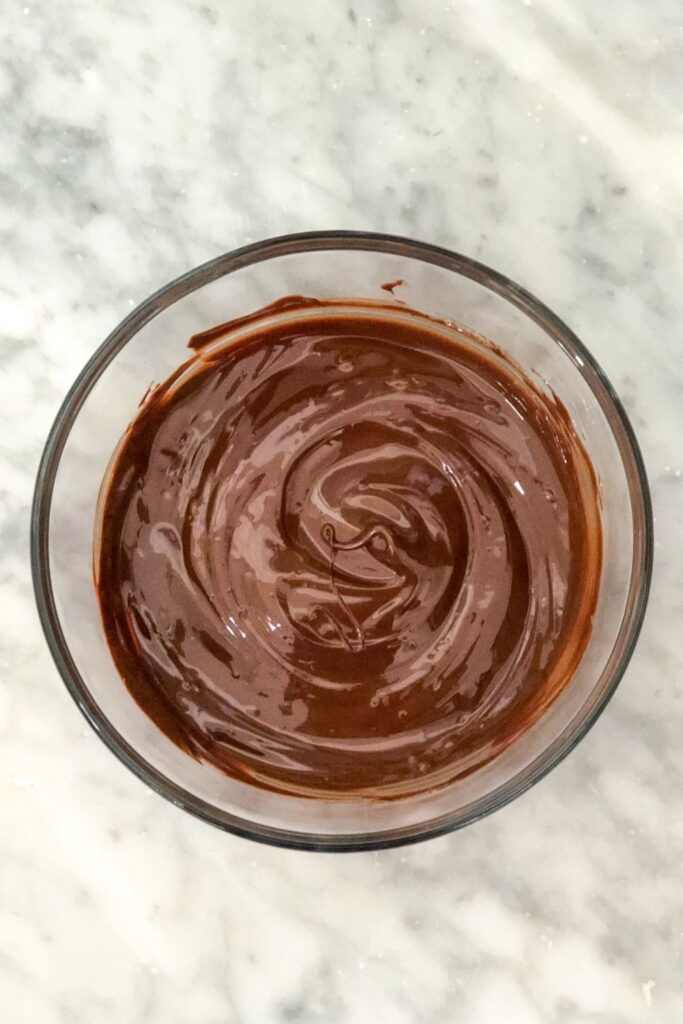
You can also use a double boiler to melt the chocolate, if you prefer. This is a more traditional way to melt chocolate, but does take a little more effort.
Basically, you set a pot or saucepan of water to a low simmer, then place a heat-safe/oven-safe bowl on top of the pot. Place the chocolate in the bowl, and stir until the chocolate is melted. Be sure the bowl isn’t touching the water – the steam from the hot water should be what heats the bowl and melts the chocolate.
Step 3: Prep & Fill Piping Bag
Next, you’ll need a heat-safe plastic zippable bag or piping bag. (I used a “freezer” quart bag. Read the packaging to make sure it can withstand up to 120 degrees Fahrenheit. See recipe below for details.)
Using a spatula or spoon, add the melted chocolate to a bottom corner of the plastic bag. Close the bag and set aside.
Step 4: Fill Raspberries with Chocolate
Next, place muffin/cupcake liners in a muffin tin. Stand 4-5 raspberries upright in each well. (Make sure they’re close enough together that they’re touching – that’s what keeps them standing upright.)
Then, cut a small piece off the corner of your plastic bag with clean scissors. (If using a piping bag, no need to follow this step).
Using the bag, slowly fill each raspberry’s center with melted chocolate.
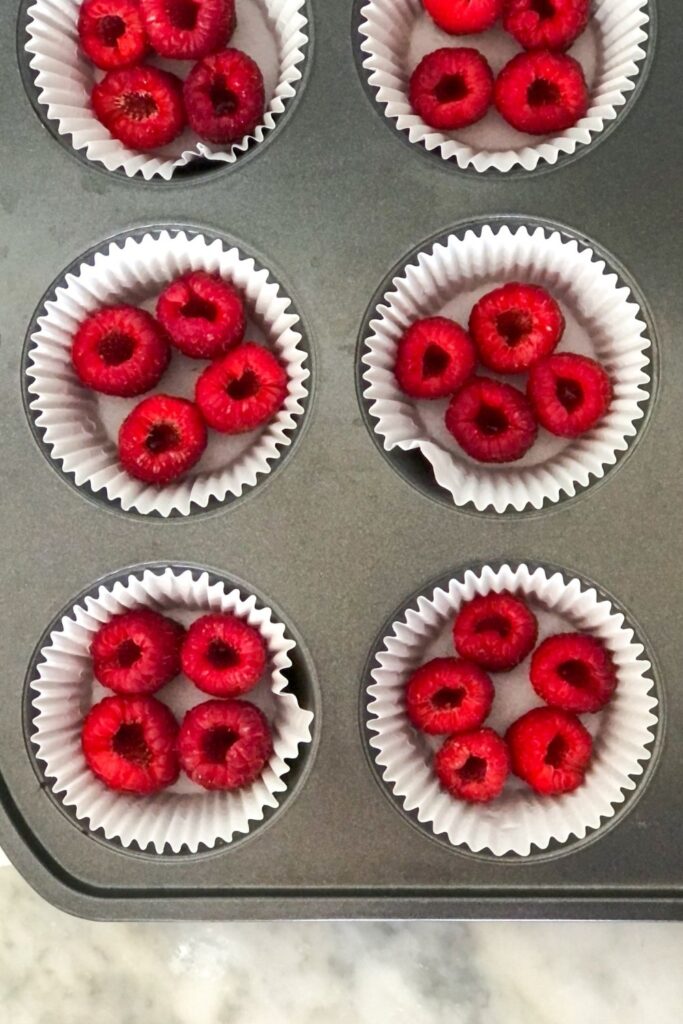
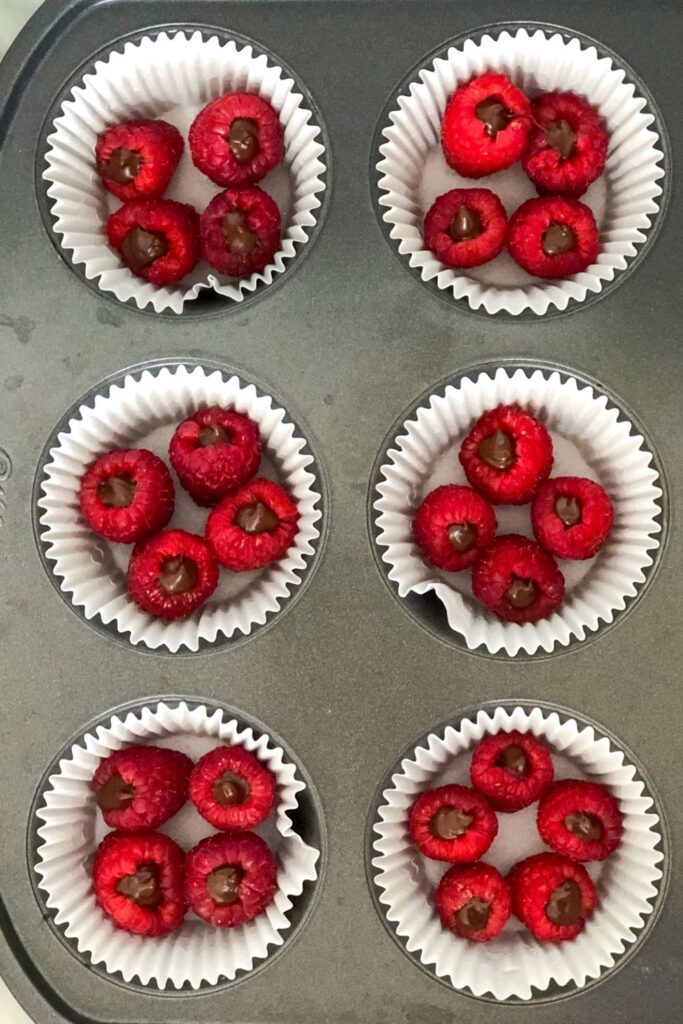
Place in the freezer for 5 minutes to set the chocolate. (Leave the bag with the rest of the melted chocolate on the counter. We’ll use it in the next step!).
Step 5: Add Chocolate Drizzle & Shredded Coconut
Once the centers are set (i.e. the chocolate is somewhat firm and won’t spill out), take the raspberries out of the freezer. Remove the raspberries from the muffin tin. On a piece of wax or parchment paper, lay them on their sides, with a little room in between each raspberry.
Using your piping bag, pipe the leftover melted chocolate over raspberries in any design you like.
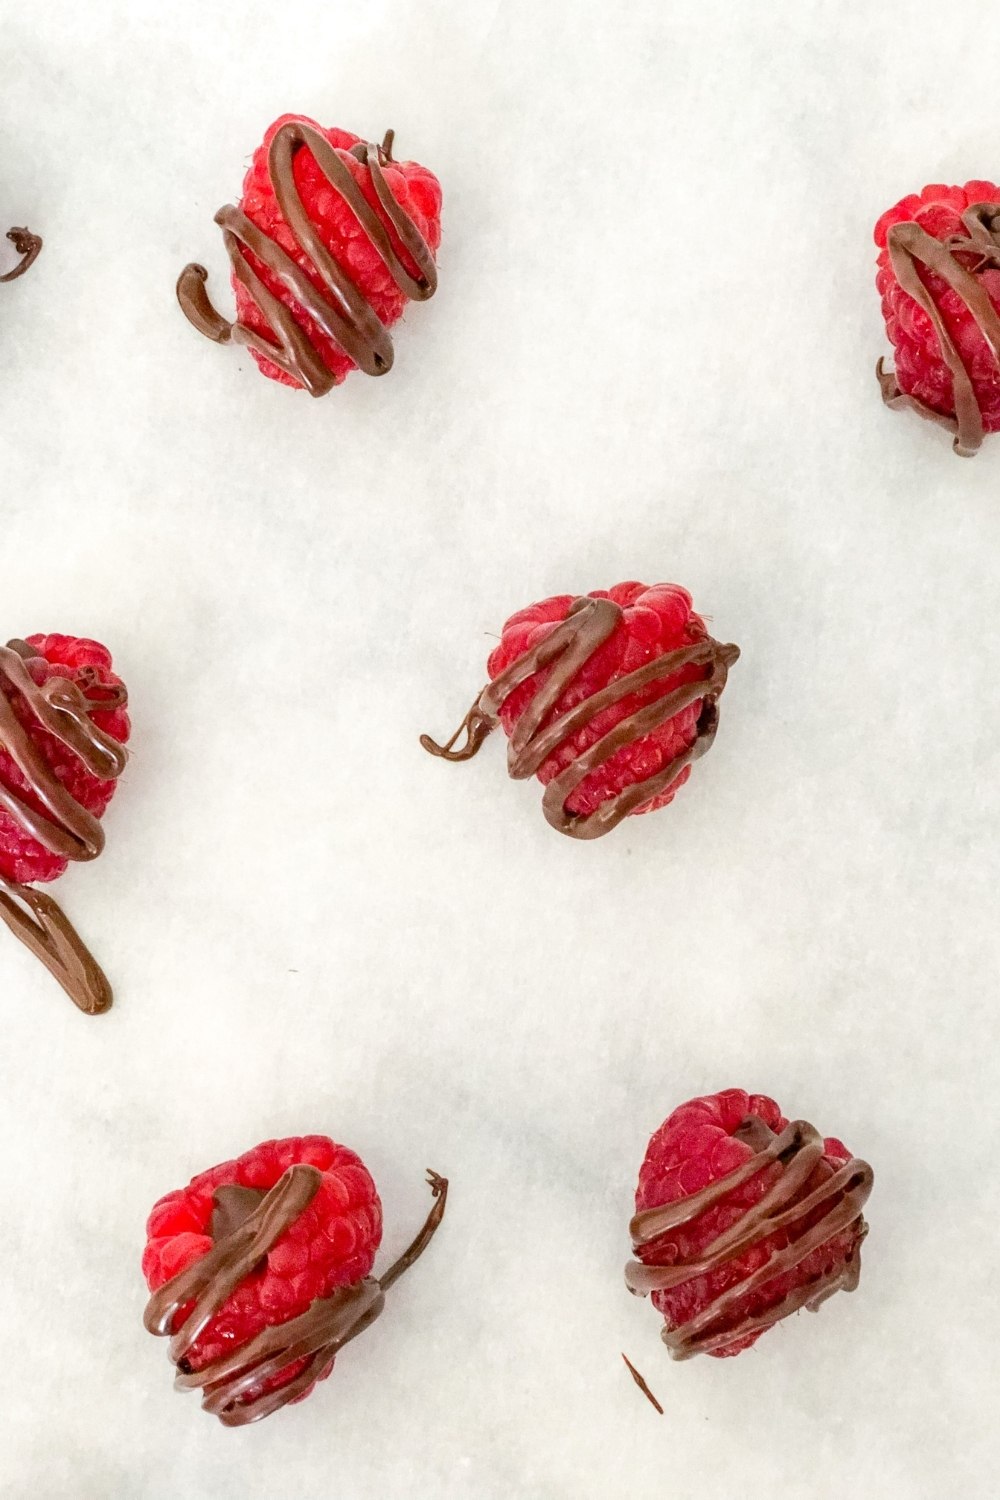
Immediately sprinkle shredded coconut over the tops of each raspberry. (Depending on how melted your chocolate still is, you may need to press down a bit if the coconut isn’t sticking to the melted chocolate.)
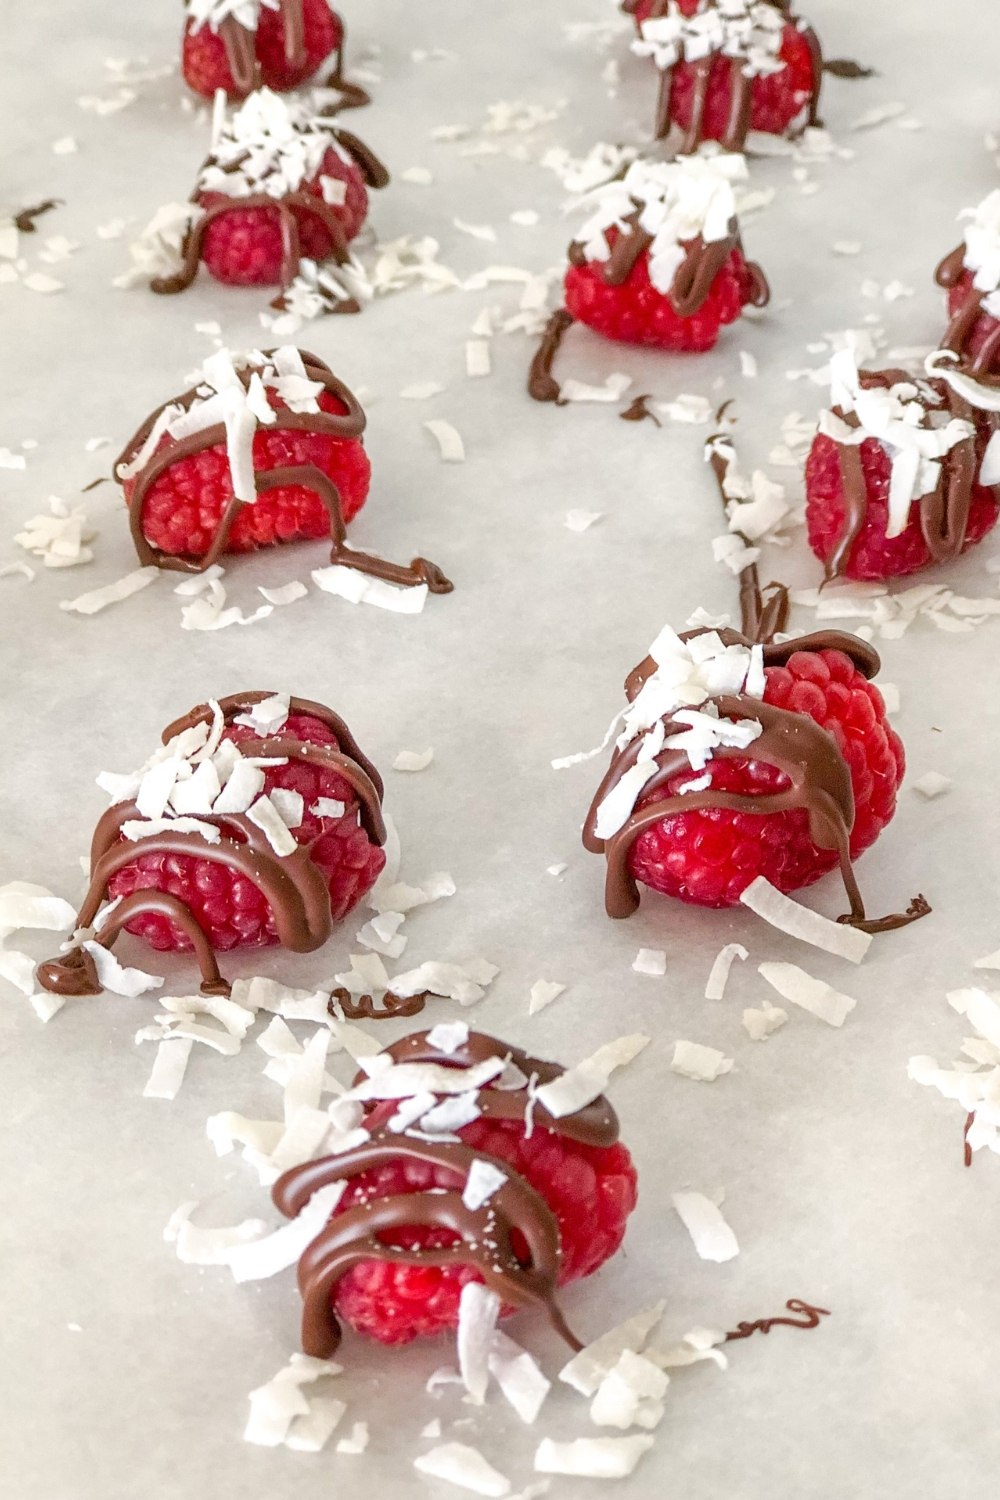
And that’s it! The chocolate drizzle should be mostly set after a few minutes on the chilled raspberries. You can enjoy right away, or save them for later in the refrigerator.
How to Store Chocolate Covered Raspberries
These chocolate raspberry bites should be stored in an airtight container in the refrigerator, on separate layers of wax or parchment paper. They’re best served at room temperature, so I recommend setting them out on the counter for a little while before eating.
They should last for 2-3 days if stored in the fridge.
You might also like these raspberry almond blondies or this raspberry frozen yogurt bark!
Other Topping Ideas
You can go as wild as you like with toppings! Here are some ideas:
- chopped nuts (peanuts, walnuts, pecans, etc.)
- seeds (chia, sunflower, pumpkin seeds, etc.)
- crushed graham crackers, oreos, or pretzels
- peanut butter drizzle
- dry cereal
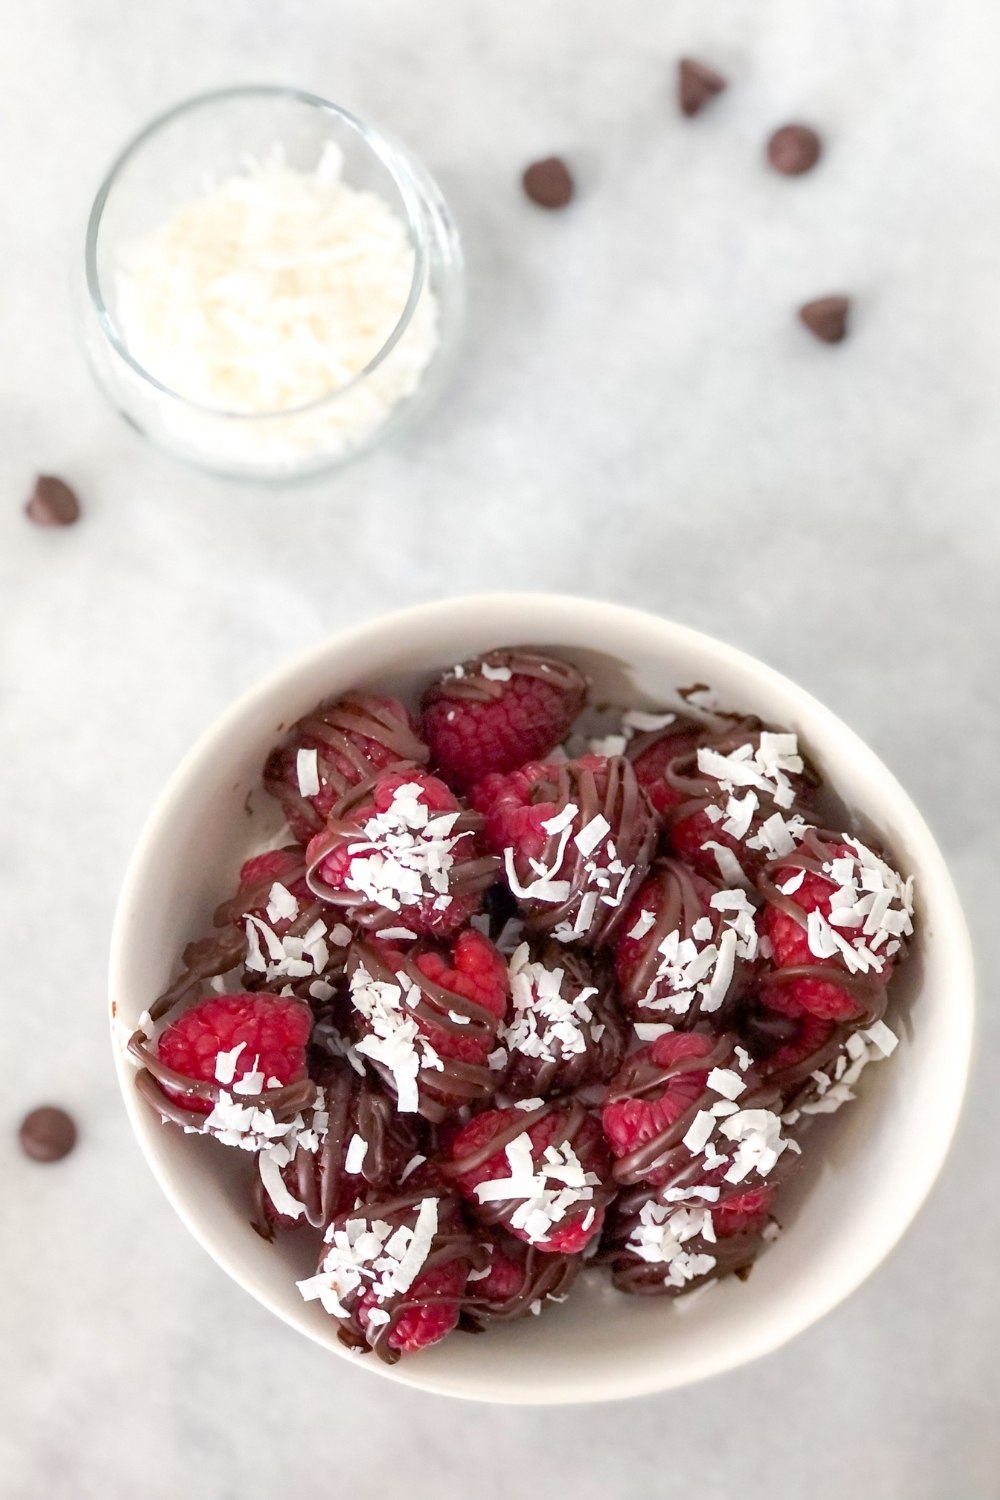
One of my favorite things about these chocolate filled raspberries is that they’re easy enough to make for a late-night snack, but they also look fancy enough to bring to a bridal shower. You may want to make a double or triple batch though, because these tasty treats disappear fast!
If you try this recipe, I’d love if you shared your thoughts with a rating and comment below. 🙂
Looking for more tasty (and easy) chocolate desserts? You might like these:
- Easy S’mores Truffles (4 Ingredients)
- Dark Chocolate Pomegranate Bites with Coconut
- Chocolate Avocado Truffles with Pecans
- Churro Custard Toast with Chocolate Drizzle
- Chocolate Nutella Strawberry Bites
- Chocolate Yogurt Parfaits with Raspberries
3-Ingredient Dark Chocolate Filled Raspberries with Coconut
Ingredients
- 6 oz raspberries
- 1/2 cup dark chocolate chips (or chopped dark chocolate bar)
- 1/4 cup shredded coconut (unsweetened)
Instructions
- Wash and dry raspberries thoroughly. (Flip the raspberries upside down on a paper towel to drain the centers.)
- Melt the chocolate chips. Place in a microwave-safe bowl (glass recommended) and microwave in 30 second intervals at 50% power, stirring between each interval, until chocolate is smooth.*
- Spoon melted chocolate into a heat-safe plastic zippable bag or piping bag**. Close the bag, making sure to remove any air, and squeeze the chocolate toward one corner of the bag. Set aside.
- Place muffin liners in a muffin tin. Stand 4-5 raspberries upright in each well, close enough together that they're touching.
- Using clean scissors, cut a small piece off the corner of your plastic bag. (If using a piping bag, just use a piping tip). Fill each raspberry's center with melted chocolate by lightly squeezing the bag.
- Chill in the freezer for 5 minutes, until chocolate centers are set. (Leave the bag of melted chocolate on the counter for later.)
- Remove raspberries from the freezer. On a piece of wax or parchment paper, lay each raspberry on its side, leaving a little room in between each berry.
- Using your ziploc/piping bag, pipe the leftover melted chocolate over the raspberries with your preferred design. Before the chocolate has a chance to set, sprinkle shredded coconut over the tops of each raspberry.
- Enjoy right away, or refrigerate for later!***

